
Start by checking which Nest generation sits on your wall,the original Learning Thermostat with its rotating ring, the plastic-bodied Thermostat E, or the 2020 Google Nest Thermostat with its touch strip,because the steps diverge from there, and most software hiccups respond to a simple restart while factory resets are reserved for moves, sales, or deep corruption. The menu path runs Settings → Reset → Factory Reset on the dial models, while the 2020 model uses a touch strip and an eight-second hold to surface the same option.
Everything below walks through model identification, the restart-versus-factory-reset decision, exact button sequences for each generation, and the reconnection steps most guides bury at the end.
Identifying Your Nest Thermostat Before You Touch Anything
A stainless steel rotating ring around the outside edge of the display is the single biggest giveaway that you’re looking at a Nest Learning Thermostat, the original flagship model sold from 2011 onward. Turn the ring and the on-screen selection scrolls; press it in and the thermostat confirms your choice. The ring feels mechanical and has a small detent at every click, almost like turning a precision camera dial.
Three Models, Three Different Interfaces
The Nest Thermostat E looks similar at a distance but swaps the polished steel for a frosted white plastic ring with a lower-resolution screen, and it ships with a lighter “snow” baseplate. The 2020 Google Nest Thermostat drops the rotating ring entirely. That budget model relies on a touch-sensitive strip running along the right side of the mirrored display, plus physical touch zones on the face for menu navigation. Identifying your model first prevents you from pressing buttons that simply do not exist on your hardware.
| Model | Year | Input Method | Display Clue |
|---|---|---|---|
| Nest Learning Thermostat (1st–3rd gen) | 2011–2015 | Rotating steel ring + push | High-resolution color screen, steel bezel |
| Nest Thermostat E | 2017 | Rotating frosted ring + push | Lower-res screen, white baseplate |
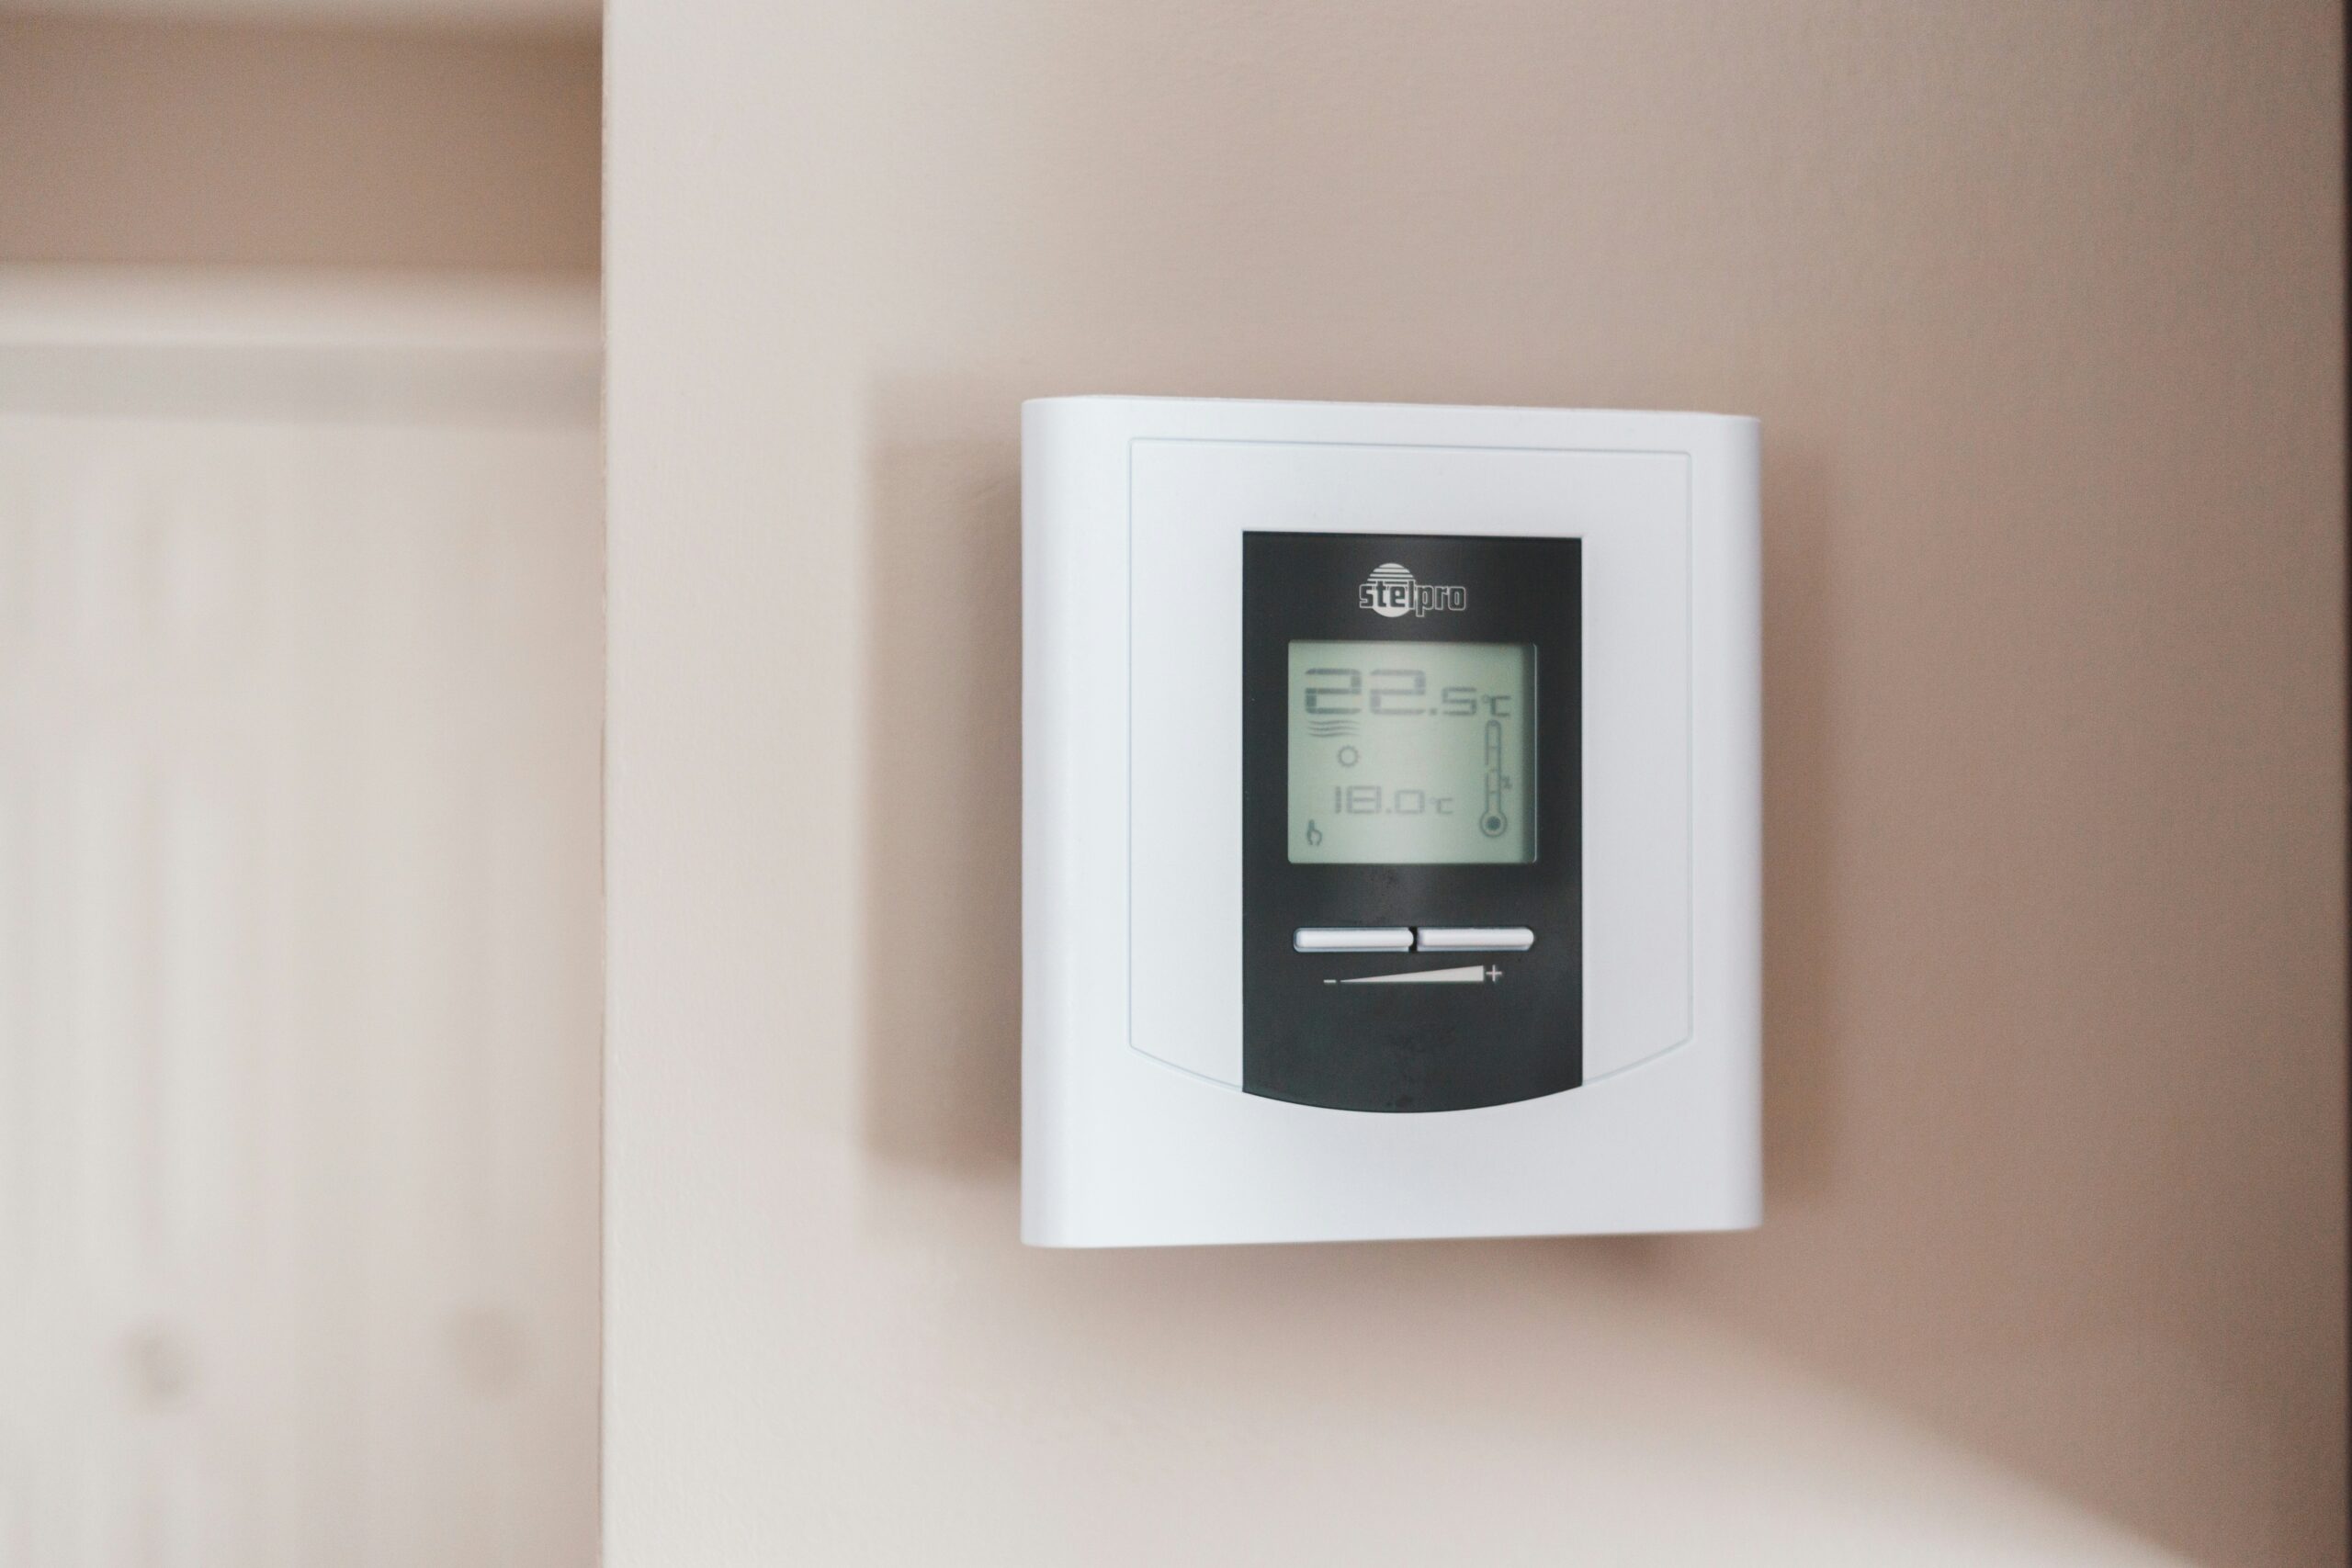
| Google Nest Thermostat | 2020 | Touch strip, no ring | Mirrored face, no rotating dial |
A 30-Second Power and Responsiveness Check
Before assuming your thermostat needs a reset at all, confirm it has power and responds to input. The display should light up within two seconds of any tap or ring turn; the temperature readout should match a separate thermometer placed nearby within one or two degrees. If the screen stays blank and your HVAC system still runs, the wiring is intact but the thermostat itself may be dead, in which case a reset will not help and a replacement is the real fix. A short confirmation here saves you from erasing every learned schedule for a problem no software reset can touch.
Deciding Between a Restart and a Full Factory Reset
A software restart is the equivalent of rebooting a laptop: it reloads the operating system, clears temporary memory, and reconnects to Wi-Fi, all while leaving every schedule, preference, and piece of learned behavior exactly where you left it. A factory reset is closer to formatting a hard drive. It removes the device from your account, wipes every schedule, deletes the energy history, and erases the temperature learning the thermostat gathered over weeks of watching your habits.
Symptoms That Call for a Restart
Frozen screens, missed schedule changes, Wi-Fi dropouts, sluggish response to the ring or touch strip, or a thermostat that stops communicating with the Google Home app can almost always be cleared with a restart. Think of it as your first move, the same way you’d reboot a router before replacing it.
Symptoms That Justify a Factory Reset
You’re handing the thermostat to someone else, moving out, switching the linked Google account, or troubleshooting a problem that survived two restarts and a fresh firmware update. A factory reset is also the right call when Nest Temperature Sensor pairing data has become corrupted or when the unit keeps dropping back to a default schedule without any logical reason.
Once pairing data corruption is the likely cause, the simpler restart almost always beats wiping the unit clean.
Skip the factory reset whenever a restart has not yet been tried. The learning engine typically needs 7 to 14 days in a new home to rebuild its comfort patterns from zero.
Restarting the Nest Learning Thermostat and Thermostat E
The on-screen restart lives in the Settings menu and takes about 15 seconds from start to finish. Press the ring to bring up the Quick View menu, rotate to the Settings gear, and press again to enter. Rotate to “Reset,” press to select, then rotate to “Restart” and press once more to confirm. The screen goes dark for roughly 30 to 60 seconds before the Nest logo reappears and the device begins its reboot cycle.
The Hardware Restart Shortcut
If the screen is frozen and you cannot navigate the menu, hold the display (not the ring) down for about 10 seconds. The screen goes black, the Nest logo fades in, and the device begins a clean boot. This method is faster than the menu path and works even when the software has locked up, which is why installers reach for it first.
Confirming the Restart Worked
Once the logo returns and the main temperature screen shows up, verify two things before assuming the reset solved the underlying problem. First, check that your schedule is intact by rotating to a scheduled time block; the temperature target should match what you set previously. Second, open the Google Home app and confirm the thermostat still appears online. Both checks must pass for a restart to count as a success.
Performing a Factory Reset on the Learning Thermostat and Thermostat E
The full factory reset path follows the same Settings → Reset menu you used for a restart, but you select “Factory Reset” instead of “Restart” and confirm twice. The thermostat then displays a countdown timer and a final warning about losing all data; press the ring once more to confirm, or step away to cancel. Once the countdown completes, the device reboots into its out-of-box state and presents the initial setup screen asking for language and Wi-Fi credentials.
An Alternate Reset When the Menu Is Unreachable
A longer press on the ring itself, holding for roughly 10 seconds with the thermostat awake, surfaces a hidden reset option. This alternate path exists because a frozen or corrupted menu cannot be navigated normally. Use it when the screen is responsive enough to show the time and temperature but the Settings menu refuses to load, or when the touch inputs have started registering duplicate presses.
What Disappears and What Survives
The factory reset removes your temperature schedule, your learned preferences, the energy history viewable in the Google Home or Nest app, any paired Nest Temperature Sensor assignments, and the Wi-Fi credentials. What survives is the firmware version installed at the time of reset and the most recent HVAC wiring configuration, both of which sit on a separate partition. That split is why a misbehaving thermostat can sometimes feel “almost factory fresh” after a reset without clearing every byte.
That partition quirk is precisely why the 2020 model needs its own reset path rather than borrowing the older one.
Cut power at the breaker before pulling the thermostat off the baseplate if you are uninstalling it entirely. The baseplate carries 24VAC from your HVAC system, and a live short against the wall can damage the thermostat’s circuit board or trip your system’s fuse.
Resetting the 2020 Google Nest Thermostat
The 2020 Google Nest Thermostat swaps the iconic rotating ring for a slim touch strip on the right edge, so every reset interaction feels unfamiliar even to longtime Nest owners. To restart the unit, tap the touch strip to wake the display, swipe down to open the Settings menu, then tap to select “Reset” and “Restart.” The screen dims and reboots within about a minute, and the schedule should remain intact once it returns.
The Eight-Second Hold for a Factory Reset
Press and hold the center of the thermostat’s face for roughly eight seconds until the display flashes and a menu appears. Use the touch strip to scroll down to “Reset,” tap to select, then scroll to “Factory Reset,” and confirm. The device reboots, clears every schedule, and returns to the initial pairing screen that asks you to select a language and connect to Wi-Fi.
| Step | Action | Approximate Time |
|---|---|---|
| Wake display | Press center of face | 1 second |
| Hold to surface menu | Press and hold 8 seconds | 8 seconds |
| Scroll to Reset | Swipe down on touch strip | 2 seconds |
| Confirm Factory Reset | Tap center to confirm twice | 3 seconds |
| Reboot and update | Wait for firmware refresh | 2 to 5 minutes |
Why a Software Update Often Follows a Reset
The 2020 model has shipped with several quiet firmware revisions since launch, and a reset commonly triggers the unit to download the latest version on its first boot. Expect the post-reset reboot to take two to five minutes instead of the usual 30 to 60 seconds, especially if your Wi-Fi signal is weak or the device is far from your router. Interrupting that update by pulling the thermostat off the wall can leave the unit stuck in a partial firmware state, so leave it alone until the home screen appears.
Unlinking the Thermostat From Your Account and Reconnecting
Removing the device from your Google Home or Nest account is a separate step from a factory reset, and skipping it is the most common reason a new owner cannot pair the thermostat. Open the Google Home app on iOS or Android, tap the thermostat, then tap the Settings gear and choose “Remove device.” Confirm the prompt, and the thermostat will be unlinked from your account within a minute or two.
Reconnecting to Wi-Fi and Your Account
After the factory reset, the thermostat presents the same first-run experience as a brand-new unit: pick a language, connect to Wi-Fi, and sign in. If your network does not appear in the list, the thermostat may be running an outdated Wi-Fi driver or your router may be broadcasting only on a band the unit cannot see. The 2020 Google Nest Thermostat supports 2.4 GHz networks only, while the older Nest Learning Thermostat and Thermostat E support both 2.4 and 5 GHz. Move closer to the router and try again before assuming the Wi-Fi radio is dead.
Restoring Schedules and Verifying HVAC Control
If you held an active Nest subscription before the reset, your schedules may still live in your Google account and re-sync during setup. Otherwise, rebuilding the schedule manually is a 10-minute job: open the Google Home app, navigate to the thermostat’s schedule view, and re-enter the temperature targets for each block. Once the schedule is in place, run a quick HVAC test by turning the heat up a few degrees above the current room temperature; the furnace should fire within a minute. Repeat with cooling to confirm the air conditioner engages.
When to Escalate to Google Support
Two failed reset attempts that leave a black screen, a boot loop firing every 60 to 90 seconds, or a unit that refuses to link to any account after a factory reset are clear signals to escalate the issue to Google support. Repeated boot loops often point to firmware corruption that a manual reset cannot clear; in those cases, a USB recovery or a warranty replacement is the realistic path forward. Unresponsive screens with intact Wi-Fi typically mean a failing display, not a software problem.
The Bottom Line
Identifying your exact Nest model first saves you from pressing buttons that do not exist, and starting with a restart before any factory reset protects the learning data and schedules you spent weeks building. Reserve the full factory wipe for moves, sales, account transfers, or problems that survived two restarts. The single most useful habit is verifying schedule and Wi-Fi integrity right after any reset, because a successful boot is not the same thing as a successful fix.
FAQ
How do I perform a factory reset on my Nest thermostat?
Navigate to Settings → Reset → Factory Reset on the Learning Thermostat or Thermostat E using the rotating ring, or hold the center of the 2020 Google Nest Thermostat for about eight seconds and select Factory Reset from the touch-strip menu. Confirm twice, and the device will reboot into its initial setup screen within about a minute.
What is the difference between restarting and factory resetting a Nest thermostat?
A restart reloads the operating system while preserving every schedule, preference, and learned behavior. A factory reset erases all personal data, schedules, energy history, and account linking, returning the thermostat to its out-of-box state and requiring full setup afterward.
Will resetting my Nest thermostat delete my schedule and settings?
A restart preserves your schedule and settings. A factory reset deletes the schedule, learned temperature preferences, paired sensor assignments, Wi-Fi credentials, and account link, so back up anything retrievable through the Google Home or Nest app before confirming the wipe.
Why is my Nest thermostat not turning on after a reset?
The most common causes are an incomplete firmware update interrupted by removing the unit from the wall, a tripped breaker cutting 24VAC power to the baseplate, or a damaged wire connection at the C-terminal. Restore breaker power, reseat the thermostat on the baseplate, and wait five minutes for the firmware to finish writing before assuming the unit is dead.
How long does it take for a Nest thermostat to restart?
A standard restart takes 30 to 60 seconds from black screen to home screen. A post-factory-reset reboot on the 2020 Google Nest Thermostat often takes two to five minutes because it triggers a firmware update on first boot.
Do I need to remove the Nest thermostat from the wall to reset it?
No reset, including a full factory reset, requires pulling the thermostat off its baseplate. Only remove the unit from the wall when uninstalling it permanently, and cut power at the breaker first to avoid shorting the 24VAC wiring against the wall.