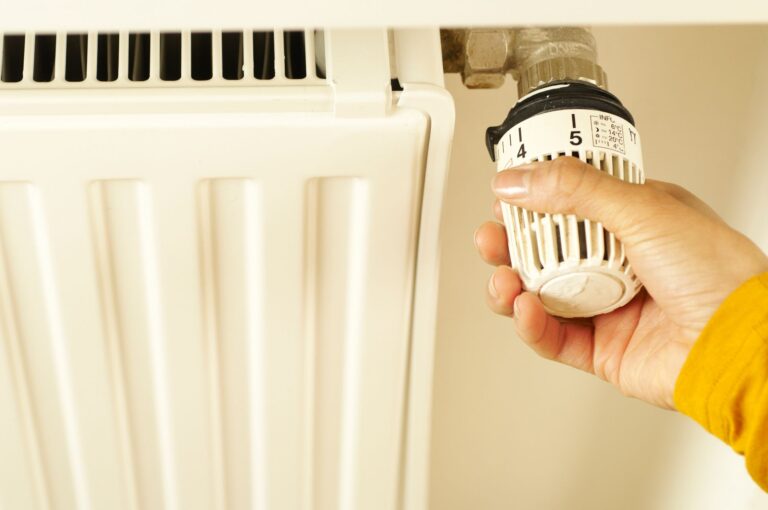

Dead backup batteries, a tripped circuit breaker, or dust clogging the internal sensor account for nearly every case of a thermostat not working. Most fixes take under 30 minutes, cost nothing, and require no tools beyond a 1/8-inch or Phillips screwdriver. Start by confirming the thermostat is the actual culprit, not the furnace or air conditioner behind it, because replacing a perfectly good thermostat is one of the most expensive mistakes in this space.
What follows is a symptom-first diagnosis path, from blank screens to wrong temperature readings, with clear stop-and-call-a-pro checkpoints built into each step.
Confirm the Thermostat Is the Real Problem
Before touching any wiring, run a two-minute fan-only test that tells you whether the HVAC system itself still responds. Flip the thermostat fan switch from “Auto” to “On,” then listen at the nearest supply vent within a few seconds. Air moving through the ducts proves the system has power and the issue lives between the thermostat and the control board, not inside the blower or compressor.
Read the Wall Display Before Trusting the House
Thermostat symptoms and HVAC symptoms look similar but reveal themselves differently. A thermostat problem shows up as a blank screen, a frozen display, or a unit that ignores temperature changes entirely. A system problem usually produces noise without airflow, short cycling, or a complete lack of response even when the thermostat says everything is set correctly. Knowing which side of the wall the failure sits on saves you from buying a new thermostat to fix a furnace issue.
With the diagnosis narrowed down, the first thing to rule out is a thermostat that’s simply lost power.
Tip: If the fan runs in “On” mode but the compressor or furnace burner never fires on a call for heat or cool, the fault is downstream of the thermostat, and a licensed HVAC technician will save you time.
Restore Power to a Blank or Unresponsive Display
A blank or flickering screen points to a power interruption rather than a broken unit. Walking through four checkpoints in order resolves roughly 80% of thermostat not turning on complaints before you open a single wall plate.
Swap the Batteries First, Even on Hardwired Models
Many 24-volt hardwired thermostats still rely on AAA or AA batteries as a backup. Pull the faceplate straight off the wall mount and check the compartment behind it. Fresh alkaline cells revive a unit that has been running on fumes for weeks, and a dying backup battery produces the same symptom as a wiring fault. Replace the cells every 12 months as preventive maintenance; most smart models from Ecobee, Honeywell, and Sensi flash a low-battery warning weeks before the screen finally dies.
Check the Breaker, the Disconnect, and the Furnace Door
Head to the electrical panel and look for a tripped 15- or 20-amp breaker labeled “Furnace” or “Air Handler.” Reset it fully by switching to “Off” and back to “On.” Next, find the indoor HVAC disconnect, usually a metal box mounted on or near the furnace, and confirm its pull-out switch or breaker is engaged. Finally, make sure the furnace access panel sits flush against the safety switch; a loose door cuts thermostat power instantly on most modern systems and is the single most overlooked reason a home goes dark on the wall.
Look for a Tripped Condensate Float Switch
A small float switch mounted on the condensate drain line silently kills the thermostat signal the moment the drain pan fills with water. A clogged drain, a stuck float, or a kinked PVC line can mimic a dead thermostat. The fix is usually a wet/dry vac on the drain line, and recognizing this one can save a $150 service call.
Clean, Reset, and Recalibrate the Thermostat
Once the unit has power, give it a software and physical refresh. Dust inside the housing causes a surprising number of thermostat not responding complaints, especially on Honeywell, White-Rodgers, and Emerson models older than five years.
Clear Dust From the Sensor and Switch Contacts
Pull the cover off and aim a short burst of compressed air at the bimetallic coil, mercury switch, or thermistor inside. Dust acts as an insulator and throws the temperature reading off by several degrees, which is why a “working” thermostat can leave a room feeling five degrees too warm. Avoid touching the coil with your fingers; skin oils accelerate corrosion on older mechanical units.
Run a Factory Reset and Recalibrate the Reading
Every model has a slightly different reset sequence, but the pattern holds: hold the menu and up-arrow buttons together for 5 to 10 seconds, or remove the batteries for 30 seconds on battery-powered units. After the reset, place a separate room thermometer on the wall next to the thermostat and compare readings. A drift of more than 2 degrees signals a calibration problem that relocation often solves: move the unit away from direct sunlight, kitchen vents, or exterior doors that bleed cold air across the sensor.
If recalibration and a reset don’t stabilize the readings, the issue may actually live one layer deeper, behind the wall plate itself.
Tip: A thermostat mounted above a heat register or on a sunlit exterior wall will read 3 to 5 degrees high and leave the home perpetually uncomfortable, no matter how new the unit is.Inspect the Wiring Behind the Wall Plate
Thermostat wiring causes more intermittent malfunctions than any other single factor when cleaning and resets fail to restore behavior. Loose connections at the terminal screws top the list, ahead of dead control boards.
Photograph and Tighten Every Terminal
Pull the faceplate off and snap a photo of every wire and its labeled terminal (R, W, Y, G, C). Even one wrong connection can prevent heating, cooling, or both. Tighten each screw gently with a 1/8-inch screwdriver or a small Phillips until the wire resists a light tug. Look for cracked insulation, heat-darkened copper, or wires that have slipped back behind the wall; any of these warrant a service call rather than a DIY splice.
Confirm a C-Wire Before Upgrading to a Smart Thermostat
Most smart thermostats, including Nest, Ecobee, and Sensi models, require a common wire (C-wire) for consistent power. Installing a smart unit on a system that only has R, W, Y, and G wires is the most common cause of thermostat not working repeat calls: the new screen glows for a day, then dies because the HVAC system can’t deliver enough milliamps through the charging circuit. A C-wire adapter kit costs about $25 and solves it without running new cable through the walls.
Handle Older and Mercury-Switch Thermostats Safely
Homes built before 2005 often hide a round, glass-tube mercury switch behind the wall plate. These units can keep working for decades, but they need careful handling once they fail, because mercury is a regulated hazardous material in every U.S. state.
Identify a Mercury-Switch Model Quickly
A mercury thermostat is usually a square or round white Honeywell, White-Rodgers, or generic unit with a small sealed glass tube visible when you pop the cover. The tube tilts as the room temperature changes and contains a bead of silvery liquid. If you see one, do not unscrew it from the wall while the wires are live; turn off the breaker first, then label and disconnect each wire before removal.
Dispose of Mercury Safely and Possibly Reclaim a Rebate
Mercury thermostats cannot go in household trash. Most states run mail-back programs through the Thermostat Recycling Corporation, and many county household hazardous waste facilities accept them drop-off. Several utilities also offer $25 to $75 rebates for proper recycling of an old mercury or non-programmable unit when a new programmable model goes in. Check your local utility’s program page before throwing anything away.
Decide Between Repair, Replacement, and a Service Call
Knowing when to stop DIY troubleshooting is part of doing it right. Thermostats last 10 to 20 years depending on type and usage, so age is the strongest signal for replacement versus repair.
Situation Best Next Step Typical Cost Unit under 5 years old, power issue only DIY repair (batteries, reset, wiring) $0 to $25 Unit 5 to 15 years old, multiple symptoms Replace with a new programmable or smart model $80 to $300 Unit over 15 years old, recalibration fails Replace, especially before HVAC system swap $80 to $300 Burning smell, scorch marks, or control-board suspicion Stop and call a licensed HVAC technician $100 to $250 service call Wiring damaged, aluminum conductors, or aluminum-to-copper junctions visible Stop and call a licensed electrician or HVAC tech $150 to $400 Prepare for a Faster, Cheaper Service Call
Before the technician arrives, photograph the current thermostat wiring, jot down the model number, and write down any error codes the display has shown. List the troubleshooting steps you already tried, including the fan-only test result. A 30-second hand-off like this often turns a diagnostic visit into a 15-minute fix, dropping your bill from $200 to under $100.
Run the numbers on age, repair history, and refrigerant cost before signing off on the technician’s recommendation.
Warning: Stop immediately and call a professional if you smell burning plastic, see scorch marks around the wall plate, or notice the breaker tripping repeatedly after reset. Those signs point to a control-board failure, not a thermostat problem, and continuing to cycle power can damage the HVAC system itself.Bottom Line
Most thermostat complaints trace back to power, dust, or wiring, not to a broken unit, and a 30-minute DIY pass resolves the majority of cases. Confirm the HVAC system still works with the fan-only test first, walk through batteries and breakers second, and only open the wall plate once those are ruled out. Replace the unit when age or repeated calibration drift makes repair pointless, and call a licensed tech the moment you see heat damage or smell something burning.
FAQ
Why has my thermostat stopped working?
The most common causes are dead backup batteries, a tripped circuit breaker, dust inside the sensor housing, and loose wiring at the terminal screws. A fan-only test confirms whether the HVAC system still has power before you assume the thermostat is at fault.
How do I reset a thermostat that is not working?
Hold the menu and up-arrow buttons together for 5 to 10 seconds, or remove the batteries for 30 seconds on battery-powered units. After reset, place a separate room thermometer next to the wall unit to verify the temperature reading is accurate.
What does it mean when the thermostat screen is blank?
A blank screen almost always means the unit has lost power. Replace the batteries, check the breaker labeled “Furnace” or “Air Handler,” and confirm the furnace access door is fully closed so the safety switch stays engaged.
Do I need to replace my thermostat or just repair it?
If the unit is under 5 years old and only has a power or wiring issue, repair it. If it is 10 to 20 years old, drifts by more than 2 degrees, or fails after a reset, replacement is usually cheaper than a service call.
Why is my thermostat not reaching the set temperature?
Sensor drift, poor location (direct sun, near a heat register, on an exterior wall), and a clogged HVAC filter are the three leading causes. Relocate the unit, recalibrate it against a separate thermometer, and replace the furnace filter before assuming the thermostat itself is bad.
Can a bad thermostat cause the furnace not to turn on?
Yes. A failed thermostat, especially one with a broken C-wire connection or a corroded W terminal, can prevent the furnace from receiving the call for heat. Run the fan-only test to confirm the blower still works, then check the thermostat wiring before replacing either component.